Understanding the Basics of Back Bar Repair
Back bar repair involves restoring the structural and aesthetic integrity of a bar’s back segment, which typically houses various items like liquor bottles, glassware, and other barware essentials. Whether you’re dealing with scratches, structural damage, or general wear and tear, effective repair techniques can revitalize your bar space, ensuring it remains functional and visually appealing. If you’re looking to tackle back bar repair, gaining a deep understanding of the fundamental aspects of the process is essential.
What is Back Bar Repair?
Back bar repair refers to the methods and techniques used to fix, refurbish, or enhance the back area of a bar, often made of wood, metal, or composite materials. This area is not only functional but also contributes significantly to the overall ambiance of the establishment. Common repairs involve addressing physical damage, improving layout functionality, and ensuring that the design aligns with the aesthetic vision of the space. Effective back bar repair can lead to an improved customer experience and may even enhance the value of the bar.
Common Types of Damage to Bars
Several types of damage can occur to bars, significantly impacting their usability and visual appeal. These include:
- Surface Scratches: These are minor but can detract from the overall appearance, especially in high-traffic areas.
- Water Damage: Prolonged exposure to moisture can warp wood and lead to rust in metal components.
- Loose Fixtures: This includes shelves, glass racks, and other components that may become detached or unstable over time.
- Structural Damage: This can involve broken or weakened supports and bars, often due to age or excessive weight loads.
Essential Tools for Back Bar Repair
Having the right tools is vital for successful back bar repair. Below are some essential items:
- Screwdrivers and Wrenches: For tightening and securing loose components.
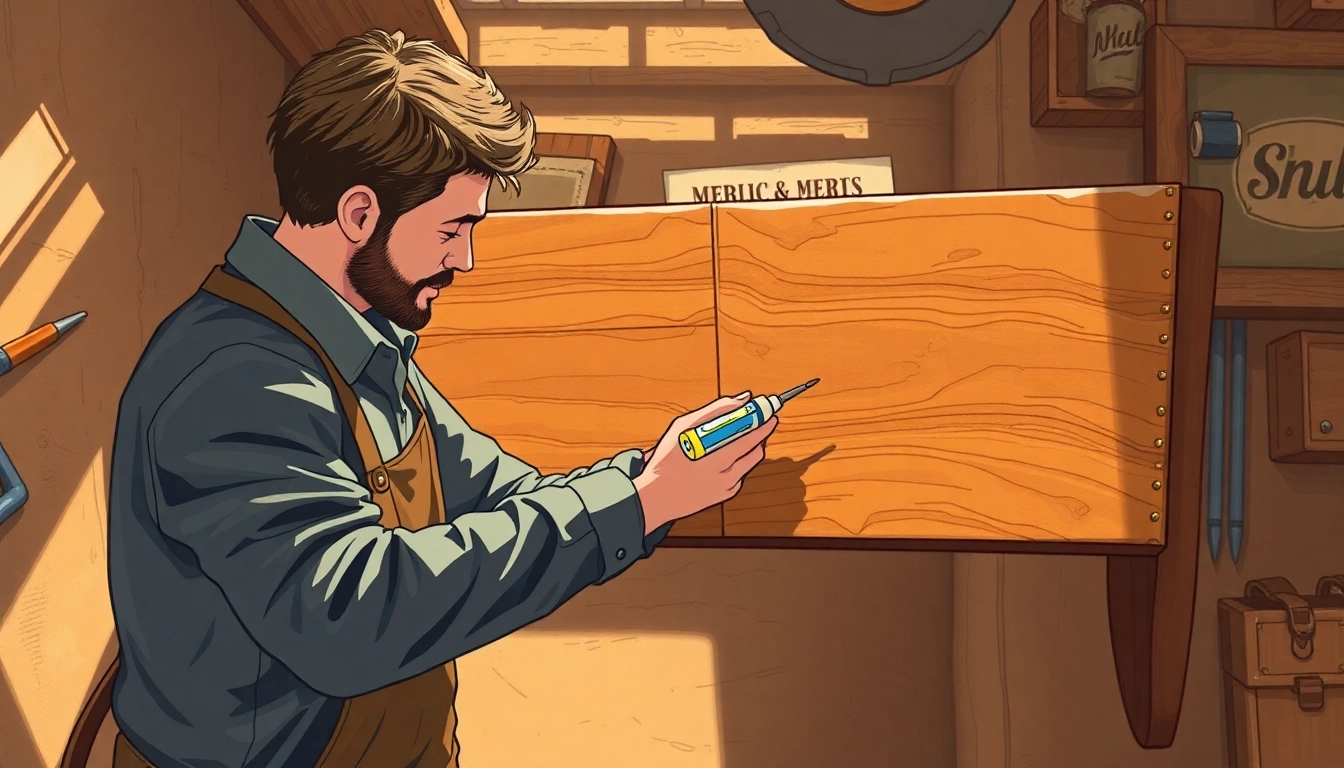
- Wood Glue and Clamps: Ideal for repairing wood surfaces and ensuring strong bonds.
- Sandpaper and Finish: Useful for smoothing surfaces before applying new finishes or paints.
- Drill: For creating pilot holes and securing screws in place.
- Measuring Tape: Important for precise measurements and alignment during repairs or modifications.
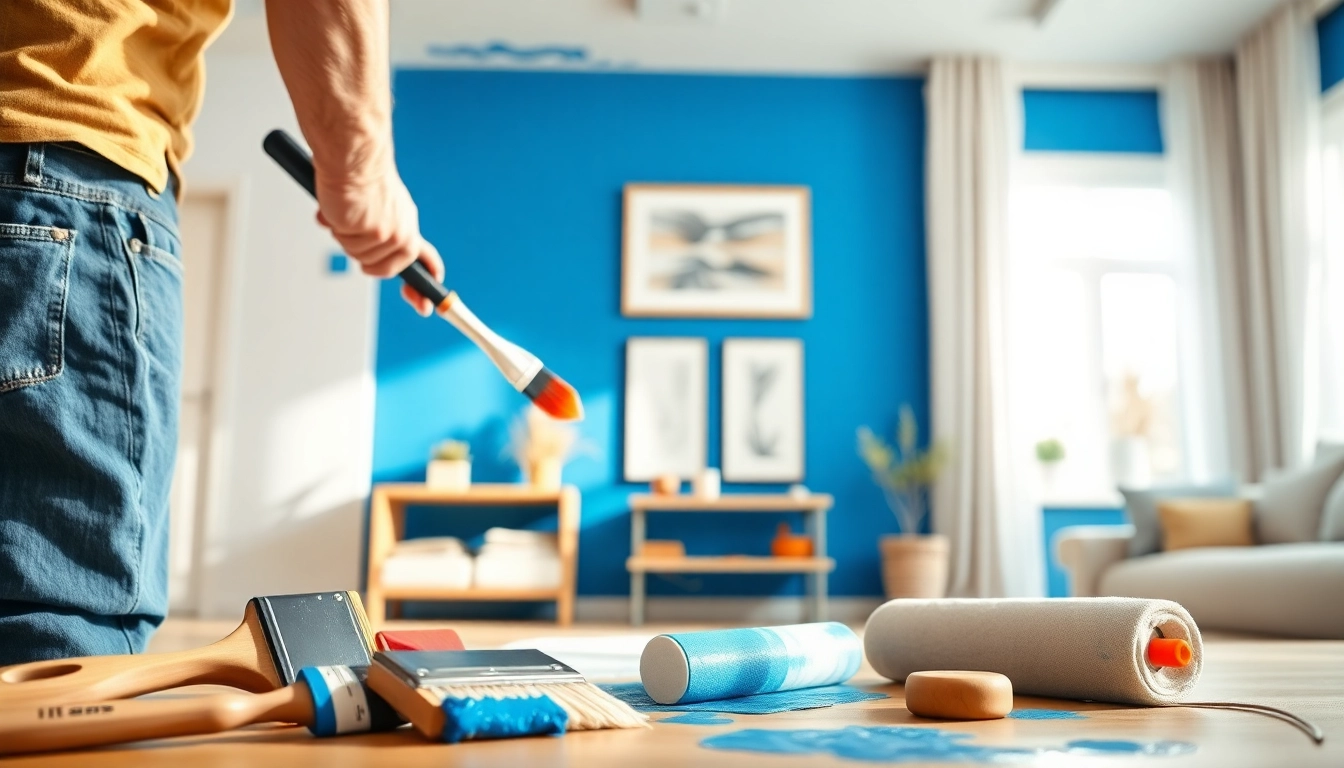
- Paintbrushes and Roller: For applying finishes or stains to enhance the bar’s appearance.
Assessing Damage: How to Identify Repair Needs
Visual Inspection Techniques
Before beginning any repair work, conducting a thorough visual inspection is crucial. Look for noticeable wear, surface scratches, water stains, and any signs of structural damage. Adjust your lighting to ensure you aren’t missing any subtle imperfections and take your time with this process. Taking photos for documentation can help track areas requiring attention and serve as a reference during repairs.
Functional Tests for Stability
Stability is just as important as aesthetics in a back bar. Check the sturdiness of shelves and fixtures by applying light pressure. If any component feels loose or wobbly, it signals an underlying issue that needs addressing. You may also need to examine joints and connections closely, determining whether screws or brackets need tightening or replacement.
Documenting the Damage for Repairs
Documentation is a critical step in back bar repair projects. Create a checklist or log detailing all noted damages and areas requiring repairs. This will help in prioritizing the work needed and tracking progress once repairs begin. Including images can also be beneficial, particularly for repairs that may require multiple steps or specialized materials.
Step-by-Step Guide to Repairing Your Back Bar
Prepping the Area for Repair Work
Preparation is essential before diving into any repair work. Start by clearing the area of any items, such as bottles or glassware, and set up a clean workspace. Use drop cloths to capture dust and debris, ensuring that the surrounding area remains pristine. Additionally, gathering all necessary tools and materials in advance will streamline the repair process and minimize downtime.
Repairing Scratches and Surface Damage
To repair scratches, start by sanding the affected area with fine-grit sandpaper, progressing to a coarser grit if the damage is more pronounced. Clean the surface thoroughly to remove any dust or debris. After sanding, apply a matching wood stain or finish to blend the repair area with the surrounding material. This step will not only fix the scratch but can enhance the bar’s overall aesthetic appeal.
Reinforcing Structural Integrity
If any areas show structural weaknesses, such as wobbly shelves or loose back bars, consider reinforcing them using additional brackets, braces, or wood glue. For shelves and back bars, using a combination of screws and glue can create a strong bond while ensuring stability. Additionally, inspecting the wall behind the bar for any necessary reinforcements is prudent, especially if floating shelves are present.
Upgrading Your Back Bar During Repairs
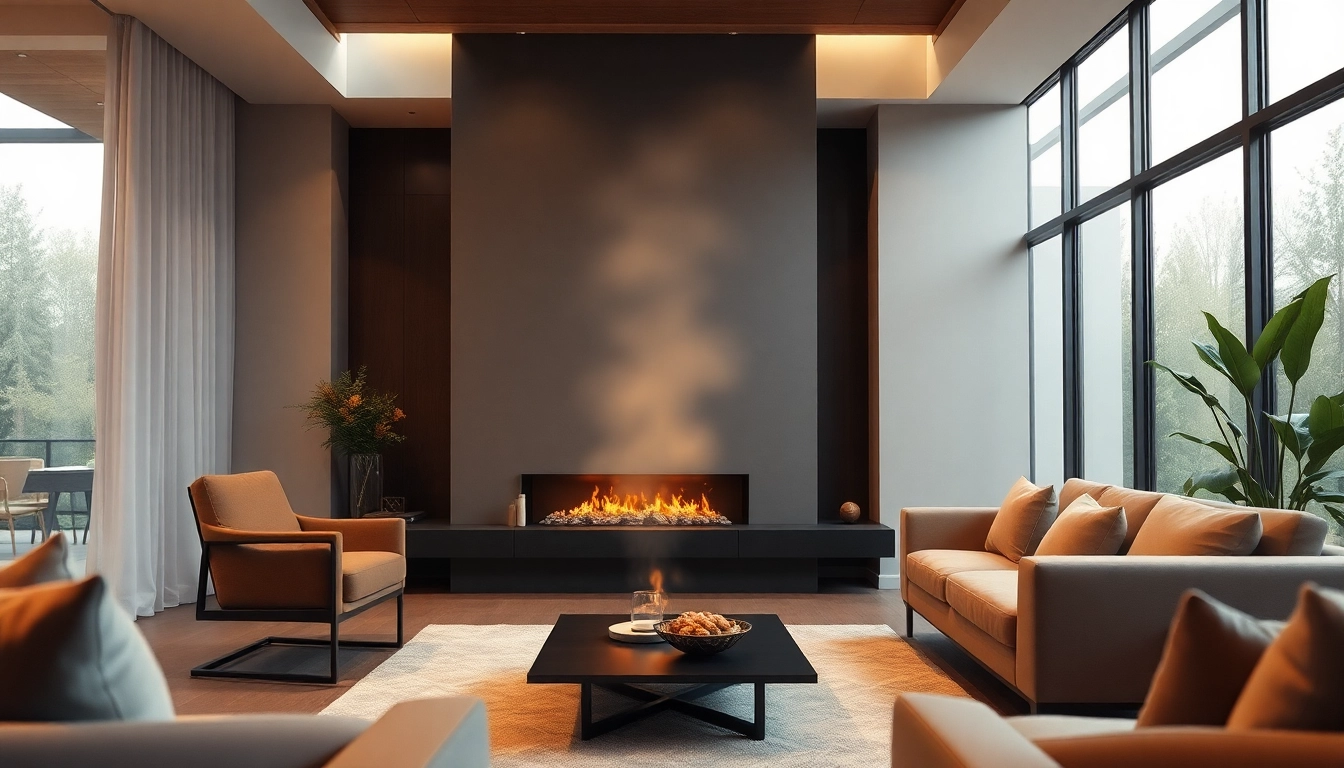
Incorporating Modern Design Elements
While performing repairs, consider integrating modern design elements that can elevate your bar’s look. This might include new colors, finishes, or layouts that complement contemporary trends. For instance, opting for sleek, minimalist designs can convey sophistication, while rustic finishes might be ideal for a homey vibe. It’s a perfect time to think creatively and give your back bar a fresh feel.
Choosing Durable Materials for Longevity
Selecting durable materials is essential for ensuring that your repaired back bar not only looks great but also stands the test of time. This can include high-quality woods, weather-resistant finishes, and durable paints that withstand the wear and tear of frequent use. Considering the function of your bar, investing in superior materials can save time and costs in the long run by reducing the frequency of required repairs.
Enhancing Functionality with Accessories
As you repair and upgrade your back bar, think about functionality. Incorporating accessories such as hooks for glassware, bottle openers, or even built-in lighting can improve accessibility and user experience. Custom shelving solutions can also enhance organization, allowing for easy access to tools and drinks while maintaining a tidy appearance.
Maintaining Your Back Bar Post-Repair
Regular Maintenance Tips
Once repairs and upgrades are complete, regular maintenance is crucial to keep your back bar in good condition. Schedule periodic cleanings and inspections to catch any potential issues early. Simple tasks like re-tightening screws, applying fresh finishes, or patching scratches can prolong the life of your repairs.
Signs That Indicate Need for Future Repairs
Familiarizing yourself with signs that indicate future repairs are needed can help you maintain your bar’s integrity. Look for new scratches, loosening fixtures, or signs of water damage that may have gone unnoticed initially. Promptly addressing these issues will prevent more significant, costlier repairs down the line.
Best Practices for Care and Upkeep
Maintaining your back bar is about more than just repairs. Following best practices such as using coasters, avoiding abrasive cleaning chemicals, and regularly checking for stability will help keep your bar looking and functioning at its best. Encourage staff or users to treat the space with care to maintain its appearance and functionality over time.